Ink bleeding can turn a clean narrow web label into a blurred, uneven surface within seconds. Fine type loses its edges. Barcodes may become difficult to scan. The defect often appears after printing, when wet ink spreads across a coated film, foil, or absorbent paper.
This guide explains how to troubleshoot ink bleeding in narrow web flexo printing through practical process checks. Mike Fairley, a respected label-industry analyst, offers a useful warning: “Ink problems are rarely caused by ink alone; they are usually process problems.” That principle matters on press. Bleeding may result from excessive ink transfer, low viscosity, insufficient drying, weak substrate treatment, or excessive impression pressure. Sometimes, several small faults combine.
Begin with the printed evidence. Check whether the ink spreads along image edges or through the substrate. Inspect the anilox roll, doctor blade, plate surface, and impression setting. Measure ink viscosity instead of judging it by appearance. Confirm corona treatment levels on film. Review dryer temperature, airflow, and press speed. Small changes can create large differences.
The obvious answer is not always correct. Lowering viscosity may reduce spreading, but it can also weaken color density. Increasing dryer heat may help, yet excessive heat can distort film or damage adhesive performance. A controlled trial is safer than a rushed adjustment. Record each change, compare samples under magnification, and involve ink and plate suppliers when necessary. Good troubleshooting is not guesswork. It is disciplined observation, repeatable testing, and honest review of what the press is actually doing.
Define Ink Bleeding and Its Impact on Narrow Web Flexo Printing
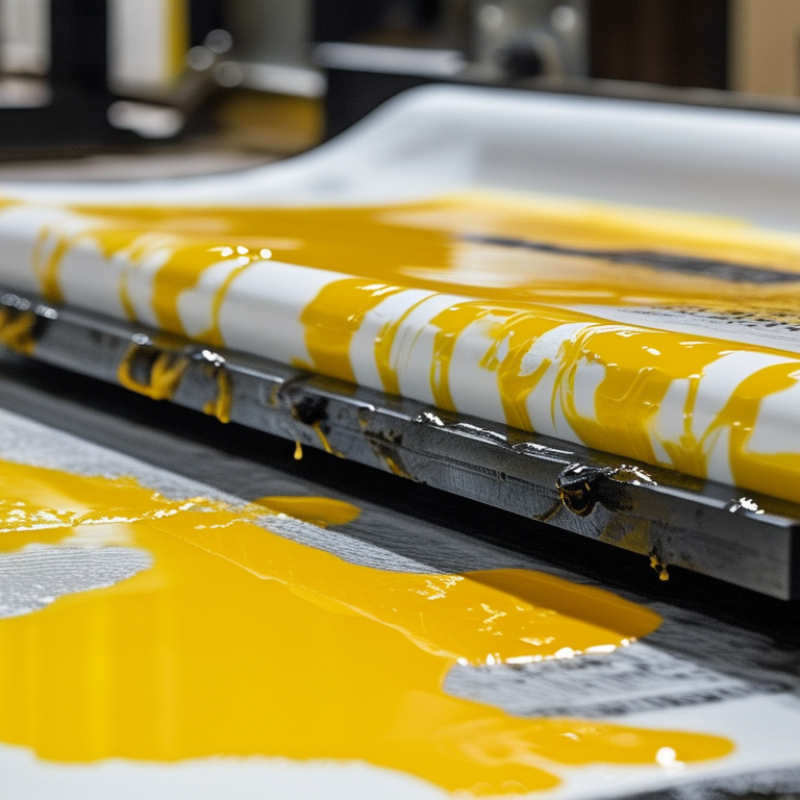
Ink bleeding is the uncontrolled spreading of liquid ink beyond its intended image area. It can appear as fuzzy edges, dark halos, or colors leaking into nearby printed zones. In narrow web flexo printing, this defect is especially visible. Small type, barcodes, and fine reverse text leave little room for error.
Ink bleeding usually develops when ink viscosity is too low, drying is delayed, or the substrate absorbs unevenly. Excessive impression pressure can worsen the problem. So can excessive anilox volume. FTA FIRST 7.0 identifies ink density, dot gain, impression settings, and registration as measurable process variables. These variables should be recorded during press fingerprinting, not guessed during production. ISO 12647-6:2020 also emphasizes tone-value and color control for flexographic workflows. Smithers’ The Future of Flexographic Printing to 2028 reports that packaging remains flexography’s dominant end-use segment. That makes small quality losses expensive across repeated label runs. I have seen a sheet look clean at the delivery end, then show feathering after slitting. Our first diagnosis is often wrong.
Tips:
Measure viscosity at press temperature. Compare printed and unprinted edges under magnification. Reduce impression pressure gradually. Test lower anilox volume before changing the entire ink system. Allow enough drying time between colors. Check substrate surface energy and absorbency. Record every adjustment. A small logbook prevents repeated mistakes. One overlooked variable can undo a careful setup.
Identify the Main Causes of Ink Bleeding
Ink bleeding in narrow web flexo printing usually begins with poor control at the ink-to-substrate interface. Low surface energy prevents the ink from anchoring properly. The printed image then spreads beyond the plate impression. It happens fast. Watch the edges.
Ink viscosity is another frequent cause. Thin ink can flood fine type, especially when the press runs warm. Excessive ink volume from an unsuitable anilox cell count creates the same problem. High impression pressure may also force ink sideways under the plate. In my pressroom experience, operators often adjust pressure first, although ink temperature and viscosity deserve attention earlier. That habit is not always correct.
Drying conditions can worsen bleeding between colors. Slow solvent release, high humidity, or weak air movement allows fresh ink to remain mobile. Contaminated film, dust, or incomplete corona treatment can create uneven wetting. Check the substrate roll, treatment level, ink viscosity, anilox condition, and dryer airflow separately. Do not change several settings at once. A simple test chart with thin lines and small text can reveal the real cause. I have sometimes blamed the ink, then found a worn plate edge or excessive nip pressure. That mistake is worth remembering. Record press speed, room temperature, viscosity, and drying settings during each trial. Small records often expose patterns that visual inspection misses.
Check Ink, Substrate, and Press Conditions
How to Fix Ink Bleeding in Narrow Web Flexo Printing?
Ink bleeding often appears as fuzzy edges, weak small type, or color spreading into nearby areas. On a narrow web press, I check the ink before changing machine settings. Measure viscosity at the actual press temperature, not only in the ink room. A quick drawdown can reveal poor body or excessive solvent. Check drying speed too. Fast solvent loss may skin the surface while ink remains mobile underneath. That result is easy to misread. I have sometimes blamed the ink too quickly.
The substrate deserves equal attention. Inspect its coating, absorbency, surface energy, and moisture level. A porous film or paper can pull ink sideways before drying. A low-energy surface may prevent proper anchorage and create unstable edges. Test an unused roll beside the problem roll. Small differences in storage conditions can matter. Keep samples from both rolls. Compare them under the same light.
Then inspect press conditions. Excessive anilox volume, high impression pressure, or a flooded plate can deposit too much ink. Reduce pressure gradually, not in large steps. Confirm web tension remains steady through the unwind and rewind sections. Check dryer temperature and airflow at the substrate surface. A hot tunnel does not always mean effective drying. Slow the press briefly and observe the edge quality. Check, don’t guess. Record every change, even the unsuccessful ones. Those notes often expose the real pattern.
Adjust Printing Settings to Control Ink Spread
How to Fix Ink Bleeding in Narrow Web Flexo Printing?
Ink bleeding often starts with excessive ink transfer, not a defective plate. During press trials, I check the printed edge under a loupe before changing several settings at once. A soft, feathered edge usually points to high ink volume, excessive impression pressure, or slow drying. Record line speed, ink viscosity, substrate type, and room temperature for every test.
Reduce impression pressure until the plate barely contacts the substrate. Too much pressure pushes ink beyond the image area. It also distorts small text. Adjust the anilox volume when coverage remains heavy after pressure correction. A lower volume cell pattern can provide cleaner edges. Check ink viscosity with a calibrated cup, then make small adjustments. Large solvent changes may create unstable color and drying.
Keep the web moving consistently. Sudden speed changes can alter drying time and ink spread. Increase drying airflow gradually, while watching for surface skinning or trapped solvent. Excessive heat may deform thin film and create another defect. Web tension also deserves attention. Uneven tension can make registration appear worse than the actual bleed.
Make one change per trial. This feels slow, but it produces evidence. I have sometimes blamed ink viscosity when worn plate shoulders caused the problem. Recheck the plate, doctor blade, and substrate surface before approving production. A clean result at press start may still fail after several thousand meters, so inspect samples throughout the run.
Verify Results and Prevent Future Ink Bleeding
After correcting ink bleeding on a narrow web flexo press, verify the result under real production conditions. Do not trust a clean sample alone. Inspect solid areas, fine text, barcodes, and reversed type with a loupe. Look for feathered edges, swollen dots, or ink transfer between colors.
Run a rub test after the ink reaches its normal drying state. Use consistent pressure and compare the printed surface with an approved sample. A tape test can reveal weak adhesion that visual inspection misses. Check color density, registration, and barcode readability at the beginning, middle, and end of the roll. Record press speed, ink viscosity, anilox condition, drying temperature, and substrate lot. Small changes matter.
Prevention depends on repeatable controls. Keep viscosity within the documented operating range, but do not adjust it blindly. Excess solvent or water may improve flow briefly and create worse bleeding later. Confirm that drying energy matches the ink and film. Store substrates in the pressroom long enough to reach stable temperature and humidity. Review cleaning practices, doctor blade wear, and print pressure during every investigation. I have seen a minor pressure change solve one job and damage another. That is why each correction needs evidence. A simple press log, supported by rub results and measured samples, gives operators a reliable starting point for the next run. Apexes and fine details still deserve human review.
How to Fix Ink Bleeding in Narrow Web Flexo Printing?
The chart compares average ink bleed width measured in micrometres during verification runs. Lower values indicate sharper print edges. Reducing ink film thickness, confirming substrate surface treatment, controlling drying airflow, and maintaining an appropriate press speed can significantly reduce bleeding. Verify results with a loupe or microscope after production conditions stabilize, then record the settings for repeatability.
Conclusion
Ink bleeding in narrow web flexo printing occurs when ink spreads beyond the intended image area, causing blurred edges, filled-in details, weak text definition, and inconsistent color. To understand how to troubleshoot ink bleeding in narrow web flexo printing, first examine the ink viscosity, drying behavior, and anilox volume, then check whether the substrate surface, coating, or absorbency is suitable for the selected ink. Excessive impression pressure, an unsuitable plate, poor registration, or slow drying can also increase unwanted ink spread.
Begin by confirming that the ink is properly mixed and within the recommended viscosity range. Adjust press speed, impression pressure, ink supply, and drying conditions gradually while inspecting the printed result. If necessary, use a more suitable substrate or modify the ink formulation and plate setup. After corrections, compare fine lines, small text, and solid areas under consistent conditions. Record the successful settings and regularly monitor ink viscosity, substrate quality, plate condition, and drying performance to prevent the problem from returning.

 Moveco Machine